How to Paint or Wrap Coloured Foamex: A 5mm Foamex Guide

Sometimes a sign does not need printing at all. A bold block of colour behind cut-out lettering, a set of display plinths in brand tones or a backdrop for a shop window can all be created from plain sheet material. There are three ways to get there: buy the board in the colour you want, paint it yourself or cover it with self-adhesive vinyl. This guide explains how to choose between them and how to get a smooth, professional finish if you decide to do the work yourself.
Start by Asking Whether You Need to Change the Colour
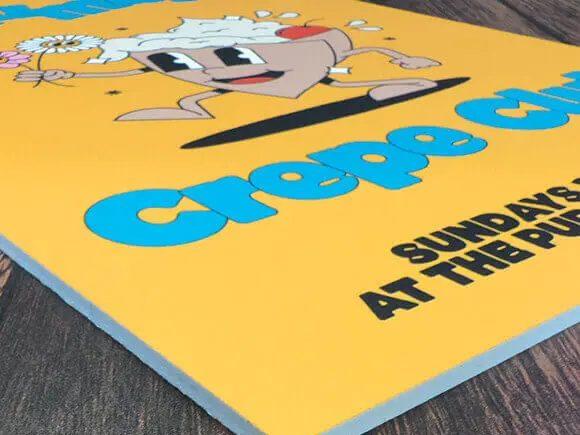
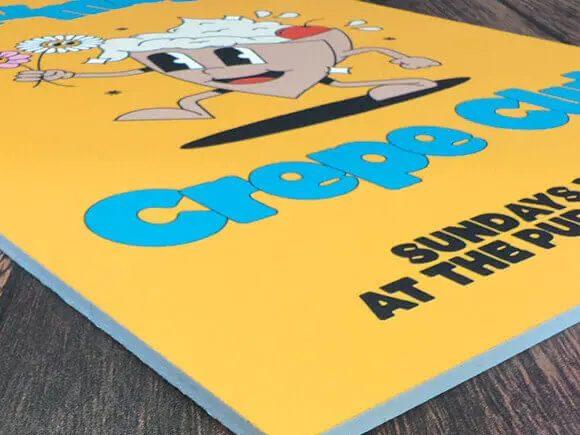
The easiest finish is the one that comes from the factory. Coloured foamex is produced with the pigment running all the way through the sheet, so there is no surface layer to chip or peel. Cut edges show the same colour as the face, which looks neat on shapes and letters.
Standard ranges usually include black, white, red, blue, yellow and green, along with a few others. If one of those is close enough to your brand, buying a coloured sheet saves time and gives the most durable result.
Painting or wrapping makes more sense when:
- You need an exact brand colour that is not in the standard range.
- You want a special finish such as metallic, brushed or textured.
- You are refreshing an existing sign rather than starting from scratch.
- Only a small number of pieces are needed and you have time to do it yourself.
Choosing the Right Thickness
For panels that will be painted or wrapped, 5mm foamex is a sensible starting point. It is rigid enough not to flex while you work on it, stays flat once finished and is thick enough for clean edges. Thinner sheets can bend during wrapping, which makes bubbles more likely, while thicker sheets add weight and cost without much benefit for most wall-mounted or free-standing pieces.
Method 1: Painting
What you will need
- Isopropyl alcohol and lint-free cloths.
- Very fine abrasive paper or a scuff pad.
- A primer designed for plastics.
- Water-based acrylic paint or a paint suitable for PVC.
- A small foam roller, soft brush or spray equipment.
- Masking tape and a clean, dust-free space.
Step-by-step
- Clean the surface with isopropyl alcohol to remove grease and fingerprints.
- Lightly scuff the face with fine abrasive to give the primer something to grip.
- Wipe away dust, then clean again with alcohol.
- Apply a thin, even coat of plastic primer and allow it to dry fully.
- Apply the topcoat in several thin layers rather than one heavy coat.
- Leave the panel to cure fully before handling or fixing.
Painting tips
Heavy solvent-based paints can soften or warp the surface, so always test on an offcut first. Thin coats dry more evenly and are less likely to run. If spraying, keep the can moving and work in a well-ventilated area.
Method 2: Wrapping With Vinyl
Self-adhesive vinyl is a popular alternative because it gives a perfectly even colour, can be removed later and is available in an enormous range of shades and textures. Professional sign makers use cast vinyl wrap for the smoothest results.
Step-by-step
- Clean the panel thoroughly with isopropyl alcohol.
- Cut the vinyl slightly larger than the panel on every side.
- Peel back a small section of the liner and align it with one edge.
- Use a felt-edged squeegee to apply the vinyl from the centre outwards, removing the liner gradually.
- Work slowly to push out air, lifting and reapplying if a crease forms.
- Trim the excess with a sharp blade, running it along the edge of the panel.
- For wrapped edges, use gentle heat to help the vinyl stretch and settle.
Wrapping tips
Small bubbles can often be removed with a fine pin and pressed flat. A slightly warm room makes vinyl more workable, but avoid strong heat close to the board. Applying vinyl with a light mist of application fluid can help position larger pieces, though it takes longer to dry.
Method 3: Ordering Printed Colour
If you need an exact brand colour but do not want to paint or wrap, a printer can apply a solid colour directly onto white board. Modern UV printers can match brand references closely, and the result looks crisp. Edges will remain white unless they are painted or the shape is printed with a border.
For a deeper look at how different sheets suit different display needs, our article How 5mm Foamex and Coloured Sheets Suit Different Display Needs compares typical projects and finishes.
Which Method Suits Which Job?
Retail plinths and display risers
Coloured Foamex straight from the factory is ideal, as edges stay tidy and scuffs are less noticeable.
Exact brand colours for a reception wall
Professional vinyl or direct printing gives the most consistent match.
One-off props and creative projects
Painting allows freedom with textures, gradients and special effects.
Refreshing old signs
Wrapping is fast and covers previous graphics completely.
Mistakes to Avoid
- Skipping the cleaning step, which leaves grease that stops paint or vinyl sticking.
- Applying thick coats of paint, which run, drip or take days to cure.
- Using strong solvents that can soften the plastic.
- Wrapping in a dusty room, which traps particles under the vinyl.
- Fixing panels before paint has fully cured.
Ordering a few plain offcuts for testing is a simple way to practise before working on the final pieces. If you need many identical panels, bulk sheet orders are usually more economical.
The Finishing Touch
Changing the colour of a plain board is easier than it looks. Starting with a factory-coloured sheet is often the simplest route, while painting suits creative work and vinyl gives a flawless, removable finish. Preparation, thin layers and patience matter more than expensive equipment. Testing on offcuts first, working in a clean room and allowing proper curing time will save you from the most common frustrations. If you would like advice on choosing colours, thicknesses or finishes for your next display, the team at Foamex Board will be happy to help you plan it.

Comments
Post a Comment